Building a Great Storyboard For An Explainer Video
Table of Contents
Building a great storyboard for an explainer video will set your video project up for success. Whether you’re creating the storyboard yourself or hiring an animation studio/freelancer to create it for you, this article will teach you how to ensure you end up with a polished storyboard that will be easy for your illustrators and animators to understand what you want them to create.
What is a storyboard?
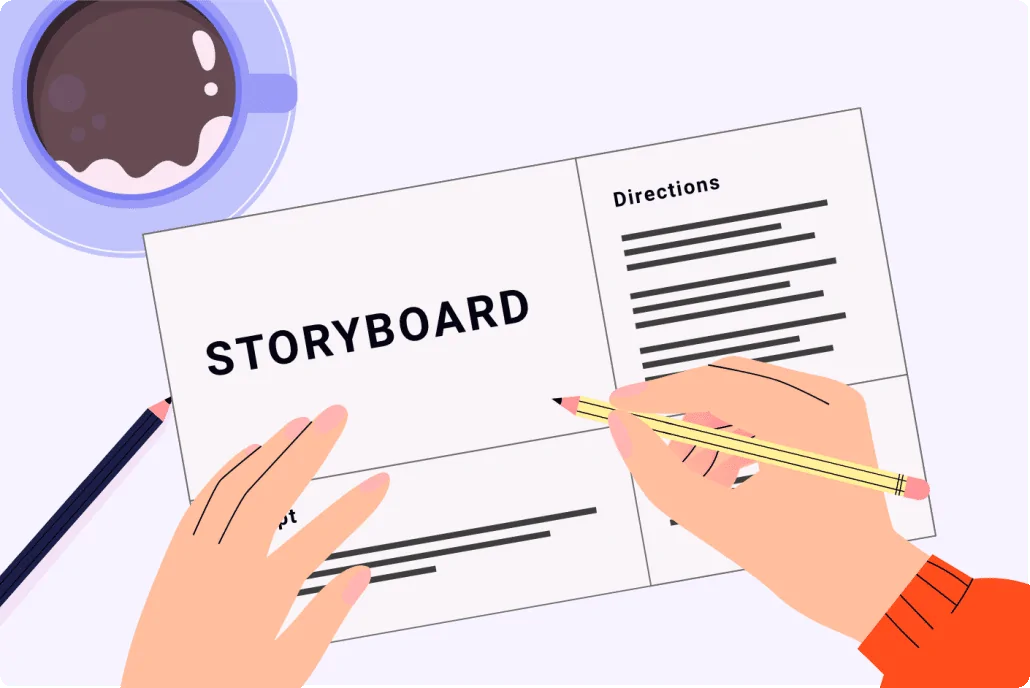
A storyboard is like a blueprint for your animated explainer video. It’s a document made by the creative team that needs to be approved by the client before moving forward with production. The storyboard specifies what visuals need to be created for each sentence of the script and how the images are going to move in sync with the narration.
Download Video Igniter’s Free Storyboard Template
Why make a storyboard for your animated explainer video?
Helps lower your production budget
Creating your own storyboard can help you save hundreds or thousands of dollars off the price of your explainer video. You can create a storyboard even if you don’t think you have any artistic abilities. Stick figure sketches are good enough to help our illustrators know what you want them to create.

Helps production run smooth
The storyboard helps everyone involved with your explainer video get consensus about what is going to be created. It’s the blueprint that tells the illustrators what they need to illustrate for each scene. It also provides instructions for the animators so they know how to make the illustrations move in sync with the voiceover.
Without clear documentation, the illustrators might waste time creating the wrong art and the animators wouldn’t know exactly what they’re supposed to animate.
It’s important to take the time to clearly and unambiguously document everything you want the animation team to create. Every detail left unspecified means you are ok with the creative team coming up with their own way to show something. If a character’s hair needs to be a specific color, say so in the storyboard. If a certain movement shouldn’t happen in a scene until a key word is spoken by the narrator, include that detail in your storyboard’s instructions. The more specific you are, the smoother production will go.
How to create a storyboard for an explainer video?
1). Download our free explainer video storyboard template
Our free explainer video storyboard template is a great way to keep your production budget low. You can create a storyboard even if you don’t think you have artistic abilities.
2). Use Powerpoint, Keynote or Slides to create your storyboard
Count how many sentences are in the script for your explainer video. Then, open up our storyboard template in Google Slides, Microsoft PowerPoint or Apple Keynote. You will see one page of the storyboard template in the document. Duplicate that page so that you have as many pages in your storyboard as you have sentences in your script.
3). Add your script
Copy the first sentence of your explainer video’s script. Paste it in the box in the lower left corner of the storyboard. Repeat for every sentence of your storyboard.

Put one sentence on each slide of your explainer video’s storyboard.
If a sentence is particularly long or there is a lot of action happening during it, consider breaking that sentence up into multiple slides. This will allow more space for you to provide instructions to the illustrators and animators.

4). Mock up the visuals
Next, you’ll mock up the visuals for each scene in the upper left corner of the storyboard. All you need is a rough napkin sketch of what you want to show in the scene. Something that provides a rough layout of what you want to show in the scene. Take a photo of your sketch and paste it into the storyboard. Repeat for each slide.

Add visuals to your explainer video’s storyboard so the design team knows what to create.
Alternately, if you don’t want to sketch out each scene, you could mock up each scene using free clip art and stock assets you find online.

Use free clip art and stock assets to mock up the visuals for your explainer video’s storyboard.
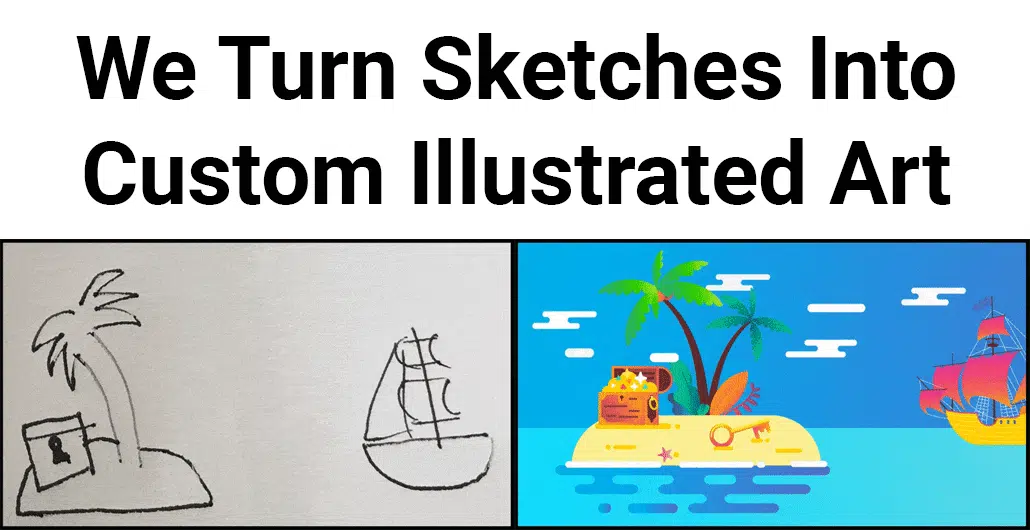
Don’t worry about making your scene mockups or sketches look perfect. It’s our job to turn your storyboard into the finalized art for the explainer video.
5). Describe the motions
After the visuals are established, you’ll want to explain how you expect the elements in the scene to move. Use the box in the upper right corner to provide a bullet point list of simple instructions that tell the animators what you want to see happen in sequential order. If two things happen simultaneously, say so. If something is supposed to happen in sync when the voiceover says a certain word, say so. When in doubt, over explain what you want to happen. The more information the better.
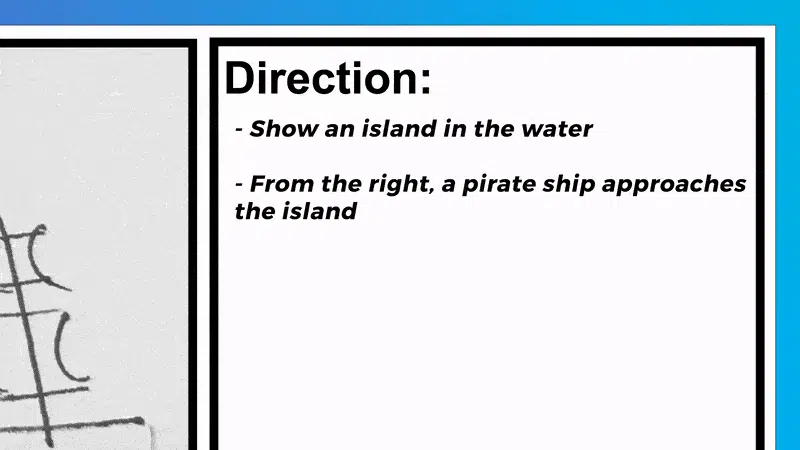
Add instructions for your explainer video’s storyboard
6). Create the asset list
The final piece of information that needs to be included in your storyboard is a list of the assets that need to be created for each slide. This can include background and scene design, characters and the clothes they wear, objects, special effects, icons, logos, sound effects and more. Be specific. The storyboard sketch isn’t detailed so use this place to provide information about how you want things to look. What does the character look like? What color surfboard are they holding? How intense should the waves sound in the background, etc.
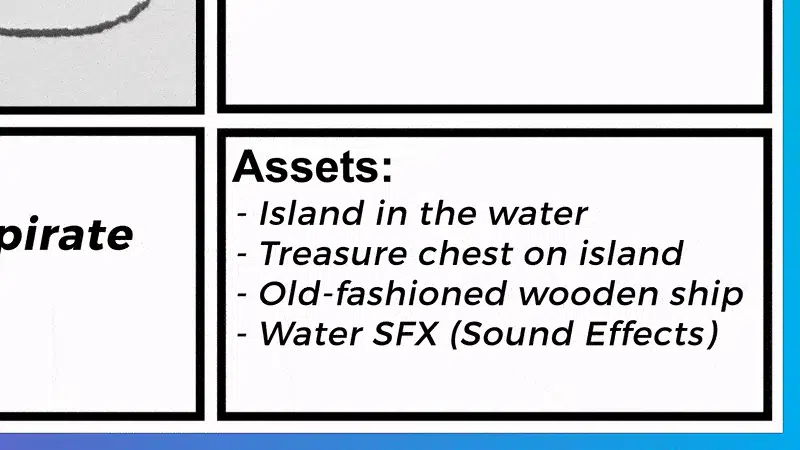
Describe what assets are needed for each scene of your explainer video
7). Review with your team + target audience
When the first draft of your explainer video’s storyboard is complete, share it with your in-house creative team. Make sure it accurately reflects the messages you want to broadcast to the world. It’s also wise to run the storyboard by members of your target audience to ensure it makes sense with them. If any last minute changes need to be made, it’s much better and less expensive to address them during the storyboard phase rather than waiting til the art and animation have been produced.

8). Export the storyboard as a PDF for production
After your storyboard is approved for production, export it as a PDF so you can easily share it with the illustrators and animators working on your animated video.

Now you’re ready to choose a video animator to help turn your storyboard into a custom animated explainer video. Not sure what kind of animation service provider is right for your project? Check out our pros and cons list to help you decide what kind of animator is right for your project.
Tips to help you build a great storyboard for an explainer video
Use clip art to mock up your visuals
Storyboards for big budget animations are created with detailed sketches for each part of the script.

Most short animated videos that are created these days don’t require something this detailed. In most cases, you can create a simple stick figure sketch. If you’re still not feeling comfortable sketching out your ideas, consider using free clip art and stock images you find online to mock up the scenes in your storyboard. You just need enough detail to give the illustrators an idea of what you want to show in each scene and how everything is positioned and framed relative to everything else.

Example of an explainer video storyboard created using clip art and stock images to mock up the scene.
Use icons for your mockups
Can’t find the right piece of clip art to mock up your scene? Odds are you can find a free icon of the thing you’re looking for on The Noun Project.
How to use sketches for your storyboard?
When you build a storyboard for an animated explainer video, it’s best to sketch out each scene with enough detail as possible so that the illustrators have the clearest picture of what it is you want them to create. Of course, most people don’t have the ability to sketch decent images. Luckily, it isn’t a requirement to sketch images, illustrators can work from rough mockups.
If you are confident enough in your stick figure drawing abilities, it’s worth it to sketch out what you want to show in each scene. Use plain white paper to sketch each scene. Consider using a pencil in case you need to revise the storyboard. After you finish a sketch, take a photo of the sketch and send it to your computer. Then, paste the image into your storyboard.

Sketch the scenes for your explainer video’s storyboard
Use basic language to explain what you want
When you write the instructions for the animators and describe the visuals that need to be created by the illustrators, use basic language. Make it easy to understand. The more detail you can provide, the better. This will ensure the animators and illustrators stay on task and minimize the chance they will need to redo their work or take a pause because the instructions were unclear and they need clarification from the client.
Explainer Video Storyboard Best Practices for Better Results

Building a great storyboard for an explainer video goes beyond simply pairing visuals with narration. The most effective storyboards are intentionally structured to guide viewers through a clear beginning, middle, and end. Each scene should build logically on the last, reinforcing the core message and leading the viewer toward the desired action.
One best practice is to ensure that every storyboard frame answers a specific question for the audience. Early frames should clarify the problem or pain point. Middle frames should demonstrate the solution and how it works. Final frames should reinforce value, trust, and next steps. If a frame doesn’t serve a clear purpose, it may be a sign that the storyboard needs tightening.
Another key best practice is visual hierarchy. Your storyboard should communicate what the viewer should look at first, second, and third in every scene. Use scale, position, and contrast in your mockups to show what’s most important. This helps illustrators design scenes that are visually clear and prevents cluttered compositions that can overwhelm viewers.
Finally, consistency is critical. Characters, colors, environments, and icon styles should remain consistent throughout the storyboard. Inconsistent visuals create confusion and increase revision cycles during production. Documenting these details clearly in the storyboard helps ensure a polished final explainer video.
Common Explainer Video Storyboard Mistakes to Avoid

Even experienced teams can run into issues when building a storyboard for an explainer video. One of the most common mistakes is overcrowding scenes. Trying to show too much information at once can make animations feel rushed and difficult to follow. If a scene feels busy on paper, it will feel even more overwhelming once animated.
Another frequent mistake is relying too heavily on text. Explainer videos are visual by nature, and the storyboard should reflect that. Avoid duplicating the script on screen unless it’s intentional for emphasis. Instead, use visuals to reinforce and clarify what’s being said in the narration.
A lack of motion direction is another issue that can slow production. Simply showing what appears on screen isn’t enough. If motion isn’t described clearly in the storyboard, animators are left to guess, which can result in mismatched expectations. Clearly documenting entrances, exits, transitions, and timing prevents unnecessary revisions.
Finally, skipping stakeholder review during the storyboard phase can be costly. The storyboard is the last low-cost opportunity to make structural changes. Approving a storyboard too quickly often leads to expensive revisions once illustration and animation are already underway.
How Long Should a Storyboard Be for an Explainer Video?

A common question when building a great storyboard for an explainer video is how many frames it should include. While there’s no universal rule, a good guideline is one storyboard frame per sentence of narration. Most explainer videos run between 60 and 120 seconds, which typically translates to 12–20 storyboard frames depending on pacing.
Some sentences may require multiple frames if they introduce a new concept, location, or visual transition. Conversely, short reinforcing phrases may share a single frame. The goal isn’t to hit a specific number, but to ensure each moment has enough visual space to breathe.
Fast-paced explainer videos often benefit from shorter scenes with simpler visuals, while more technical or educational videos may require longer scenes with additional visual detail. Your storyboard should reflect the complexity of the message rather than forcing a rigid structure.
Aligning Your Storyboard With Marketing and Business Goals

A storyboard isn’t just a creative tool—it’s a strategic one. When building a great storyboard for an explainer video, it’s important to align every scene with your business goals. Are you trying to generate leads, educate users, increase conversions, or explain a complex product feature? The storyboard should support that objective from start to finish.
For marketing-focused explainer videos, the storyboard should emphasize benefits over features and clearly illustrate the value proposition. Scenes should show outcomes, not just mechanics. For product or SaaS explainers, the storyboard should highlight real-world use cases and common user scenarios.
The call to action should also be visually planned in the storyboard. Whether it’s signing up, booking a demo, or visiting a website, the final frames should clearly show what the viewer should do next and why they should do it.
Using Your Storyboard as a Production and Revision Tool

Once approved, your storyboard becomes a central reference throughout production. Illustrators use it to create assets, animators rely on it for timing and motion, and producers use it to manage scope and timelines. A well-built storyboard reduces ambiguity and keeps everyone aligned.
Storyboards are also valuable during revisions. When feedback is tied to specific storyboard frames, changes are easier to communicate and implement. This structured approach keeps revisions focused and prevents subjective or vague feedback from derailing production.
In many cases, the storyboard can even be reused for future updates or additional videos in a series. By documenting visual logic and motion patterns clearly, you create a repeatable framework that saves time and budget down the line.
Animated Video Production Resources
Here are some popular articles and resources we recommend for your video production journey:
Free Download: Storyboard Template + Storyboard Creation Guide
Free Download: Script Writing Template
How long does it take to make an animated explainer video?
How do I create a digital marketing animated video?
How to make an animation clip for a video project?
Hire Video Igniter to Create Your Storyboard and Explainer Video
World class design talent at prices small businesses can afford.
We can make any kind of 2D or 3D explainer video you can imagine.
+20 reasons companies love hiring us to create storyboards and animated explainer videos.
Do you want to create an animated cryptocurrency video or an animated blockchain explainer video that explains how your technology works? We can help with that too.
Demo Reel:

Success Stories & Testimonials
“I am beyond satisfied with my experience with Video Igniter. The first drafts of the work were almost exactly what I had in my head when developing the concept. After that each step along the way was seamless until arriving at a perfect finished product. And all this at a tremendous value. Anyone who has considered creating a marketing video should check out Video Igniter.”
Anonymous Customer Feedback
“I run a video production company and outsource animation. The team at Video Igniter did a great job in taking the concept I very crudely drew out and made it into a beautiful animation. The review process was easy and their turnaround time was very quick. I’d def recommend them if you’re looking for an animation project.”
Pat Henderson – Founder, Path8 Productions
“Video Igniter came to us with a number of creative and engaging ideas and were able to create an exciting, impactful video in a short period of time. And the best part was that it cost much less than other options of similar quality. The video they made is a great marketing tool for us.”
Alex Raymond – Founder, Kapta Systems

Get in touch
If you need help building a great storyboard for an explainer video, get in touch with our team. We can help!
Schedule a call to discuss your animated video and storyboard.
Get a quote for your storyboard and explainer video.
Check out our animated video portfolio.
Request access to our newest price sheet.
Create your Video Igniter account, fill out a creative brief, and we’ll start creating the storyboard for your explainer video.