How Much Does Animation Cost?
Table of Contents
If you want to make a custom animated explainer video, you’re probably shopping around to figure out how much does animation cost?
TL;DR: $500-$250,000+/min & you get what you pay for.
Scoping out the production cost of an animated video is often one of the largest deciding factors when choosing an animation studio or freelancer to produce your animation. If you’re looking into making an animated video and wondering how much does animation cost, you will need to include all of the following aspects of production:
1). Script Writing ($0-$5,000+)
2). Storyboard Creation ($0-$5,000+)
3). Soundtrack License ($0-$1,000+)
4). VoiceOver ($0-$350)
5). Custom Art ($300-$10,000+)
6). Animation ($250-$15,000+)
If you have a question about how much animation costs that isn’t answered in this article, you can use our contact form to ask your question or click the image below to with a member of our production team:
Animation Cost Breakdown:
1). Script Writing ($0-$5,000+)
You can write the script for your animated video and save a good chunk of change on your production budget. Hiring a studio or freelance animator to write or collaborate on your script is a good idea because they can help you think about the visual aspects of storytelling while you figure out the script to hold it all together.

A freelance animator will typically help write your script for a few hundred dollars. An animation studio is likely to charge at least a thousand dollars. When you hire a marketing agency ($5,000+), you’re paying extra for experienced commercial storytellers and people who can run focus groups and studies to learn more about your target audience and craft the story to their unique tastes.
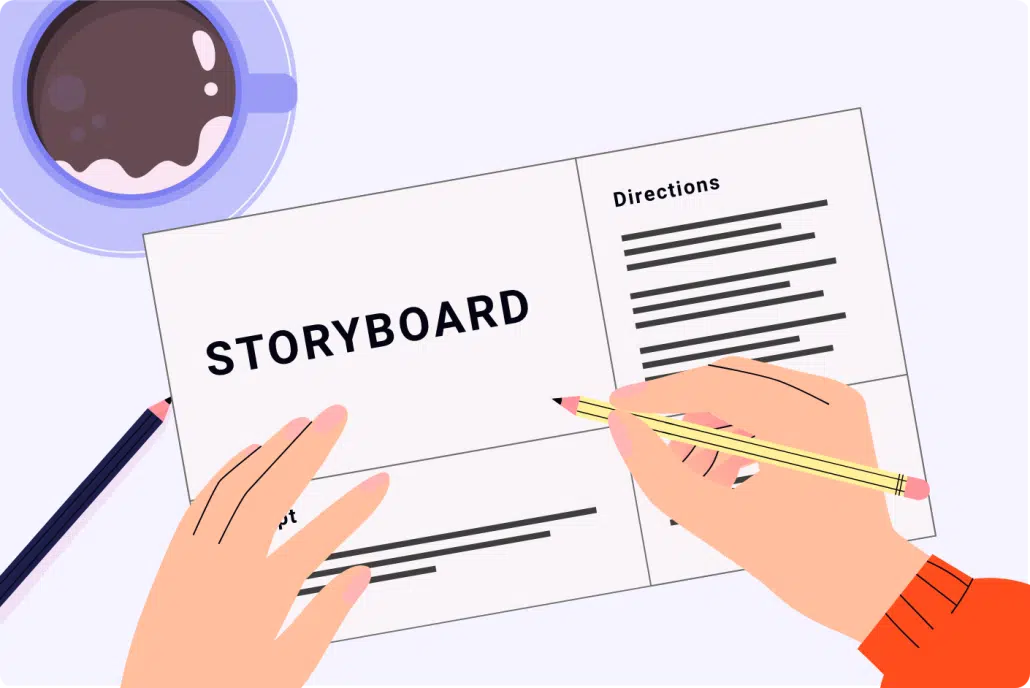
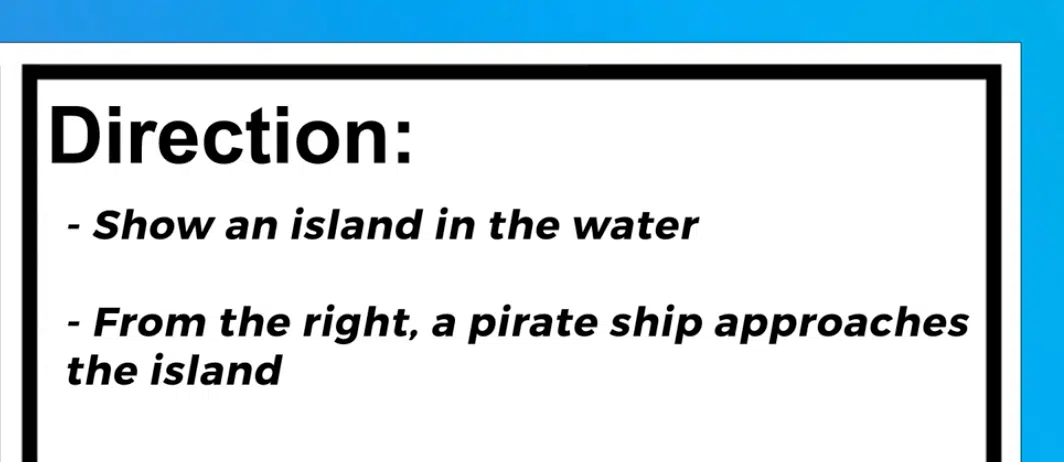
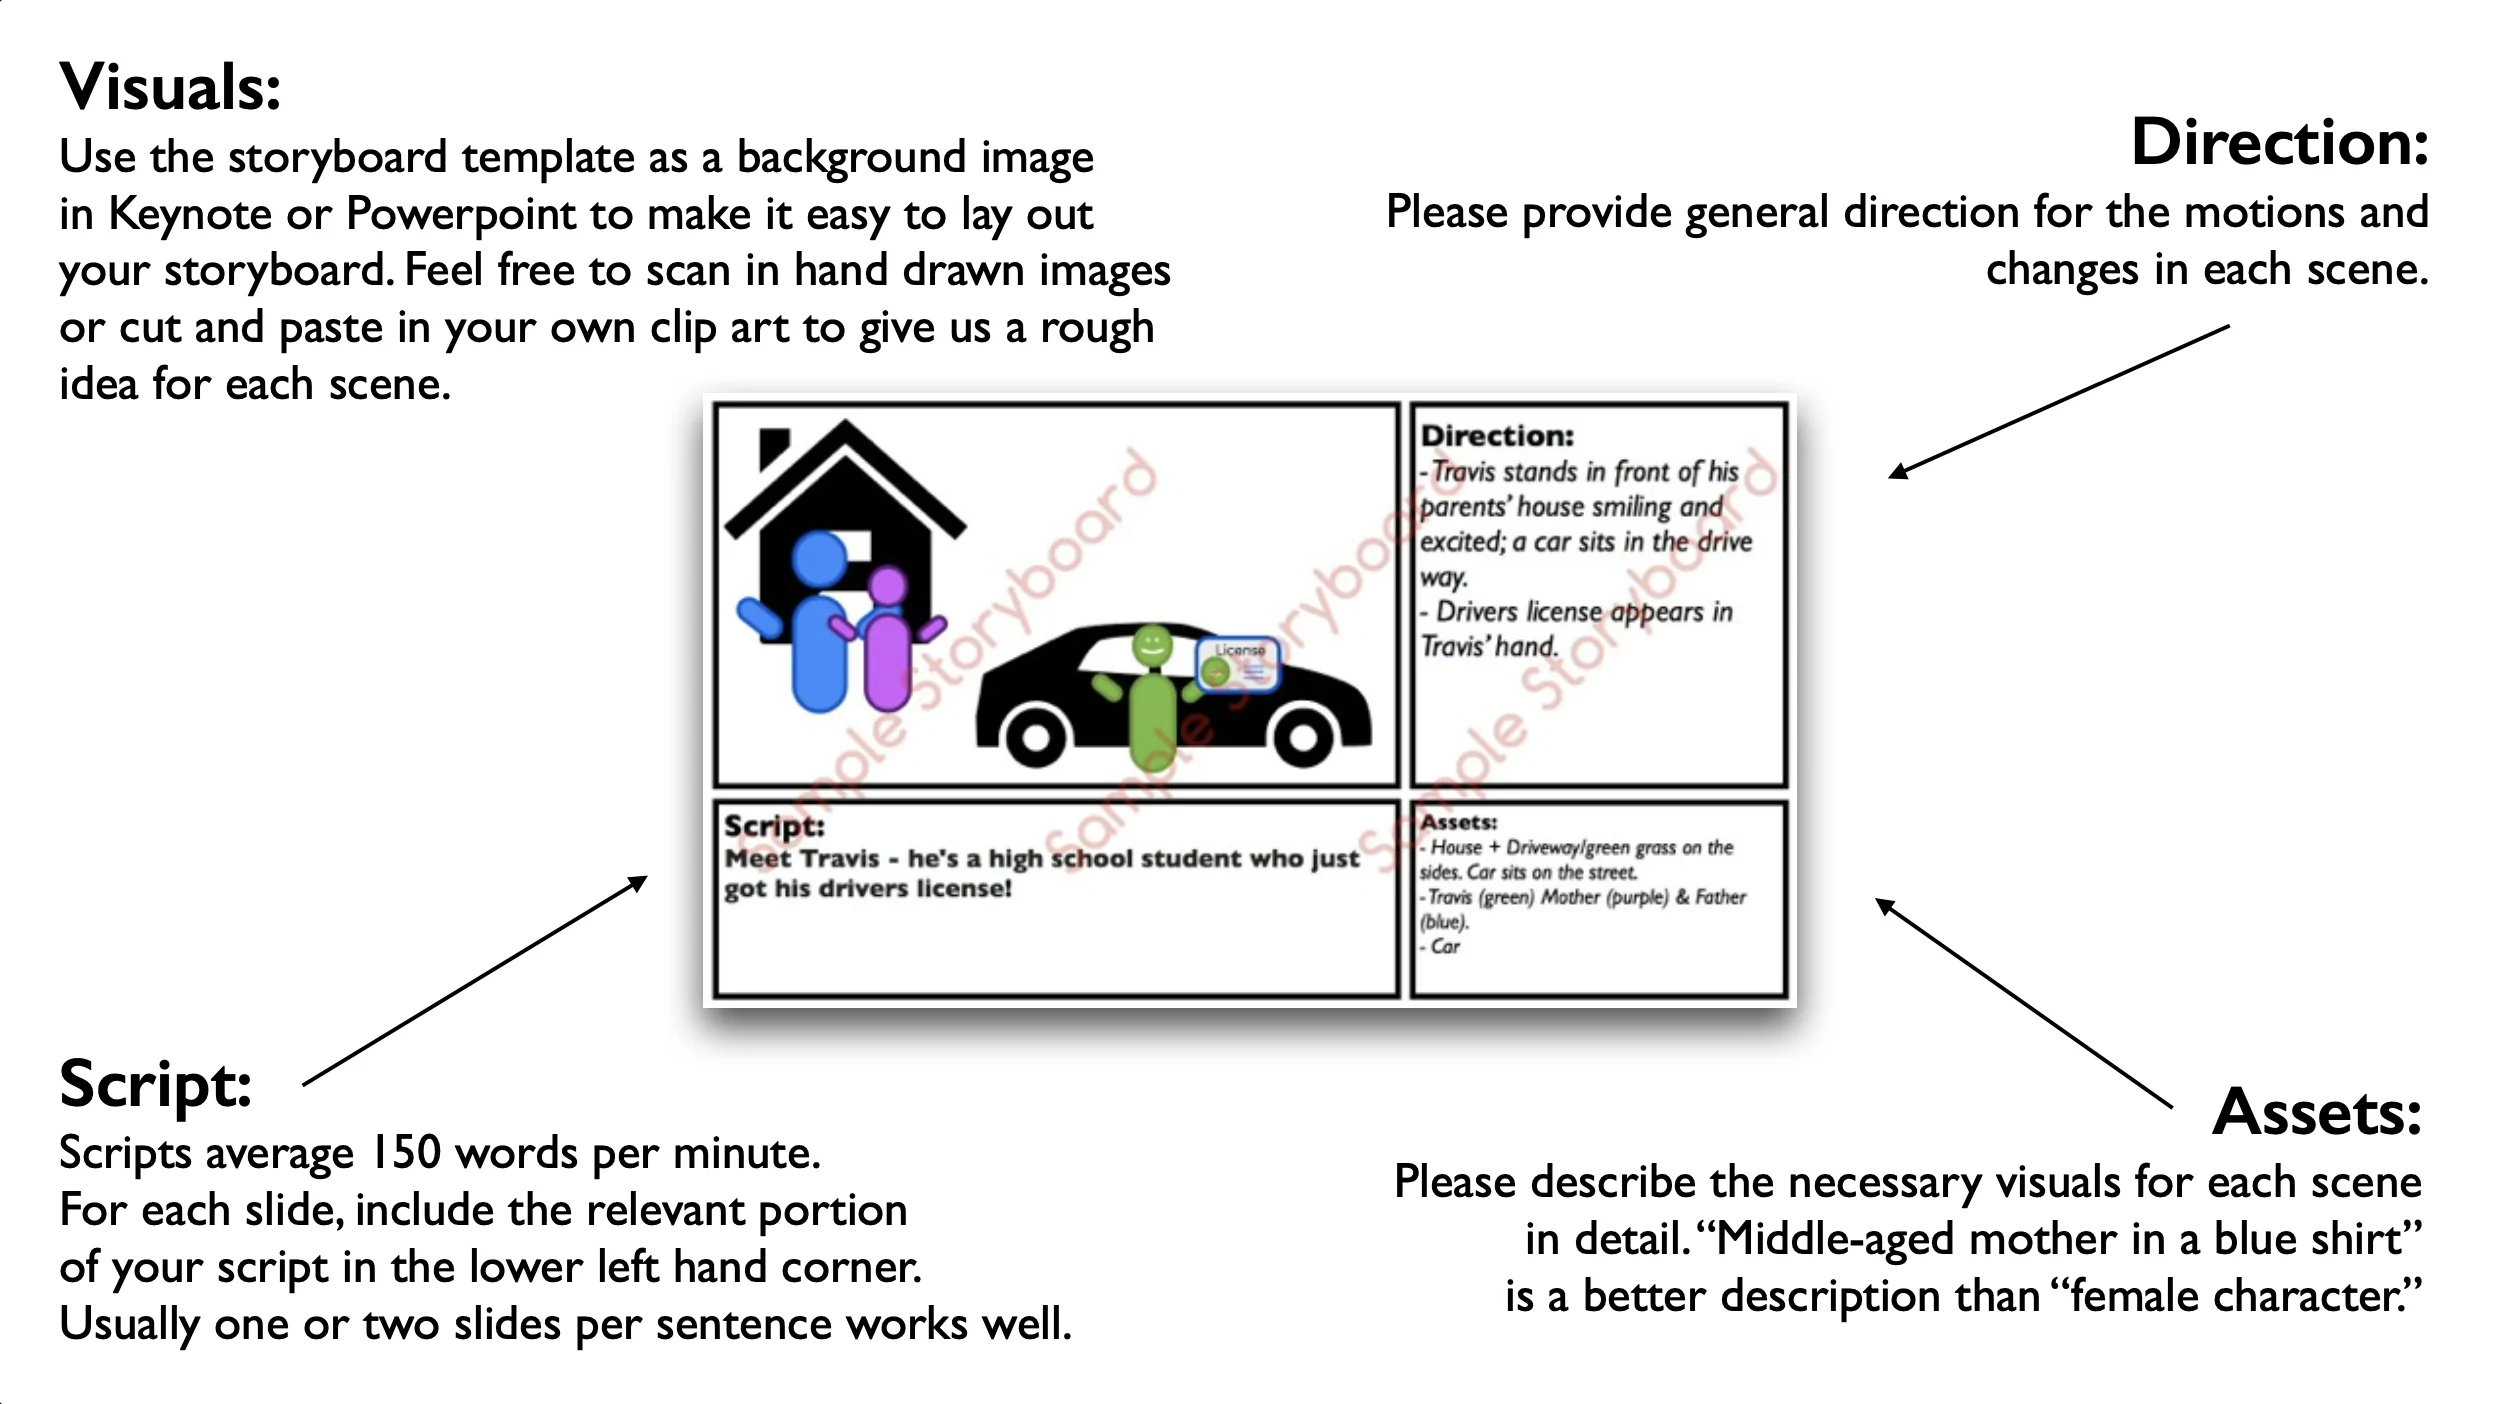
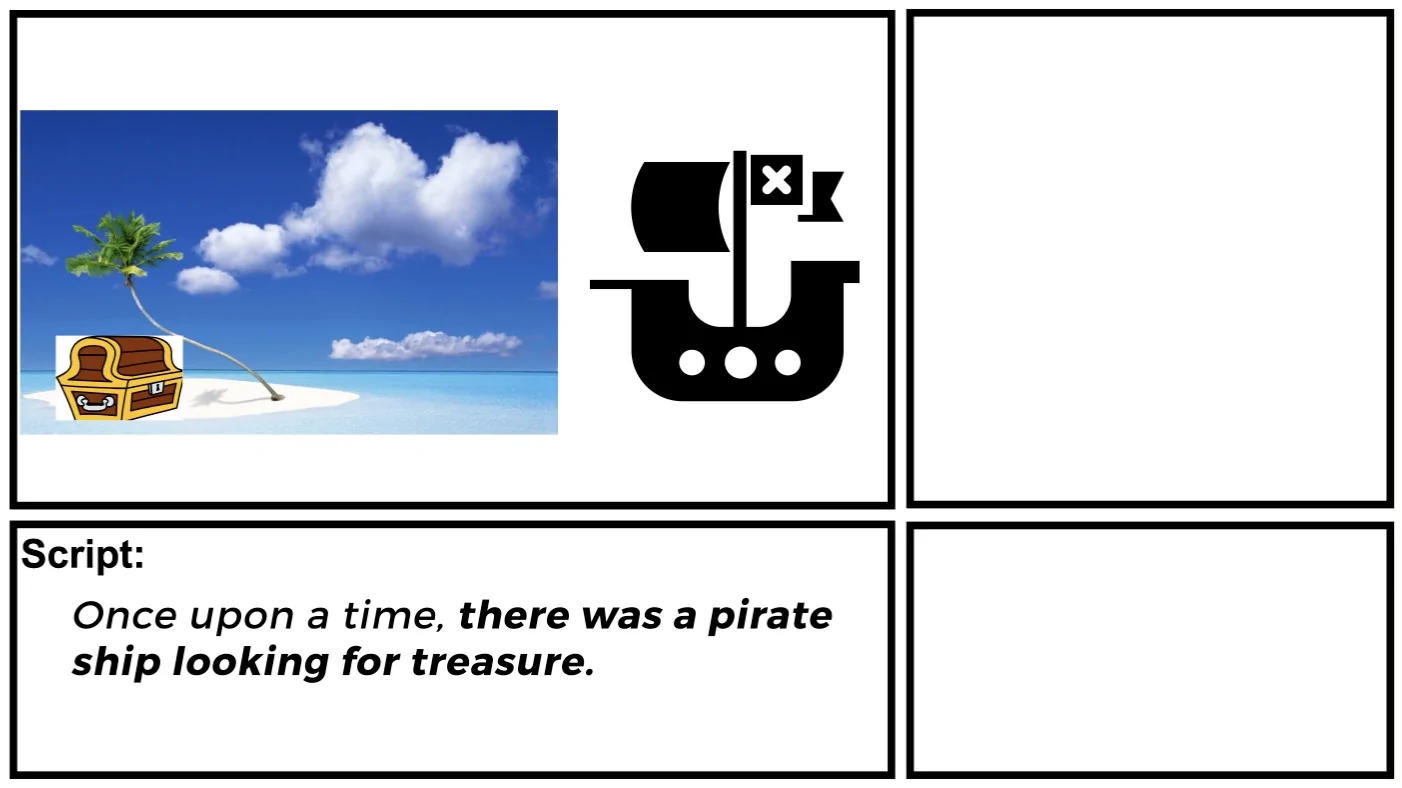
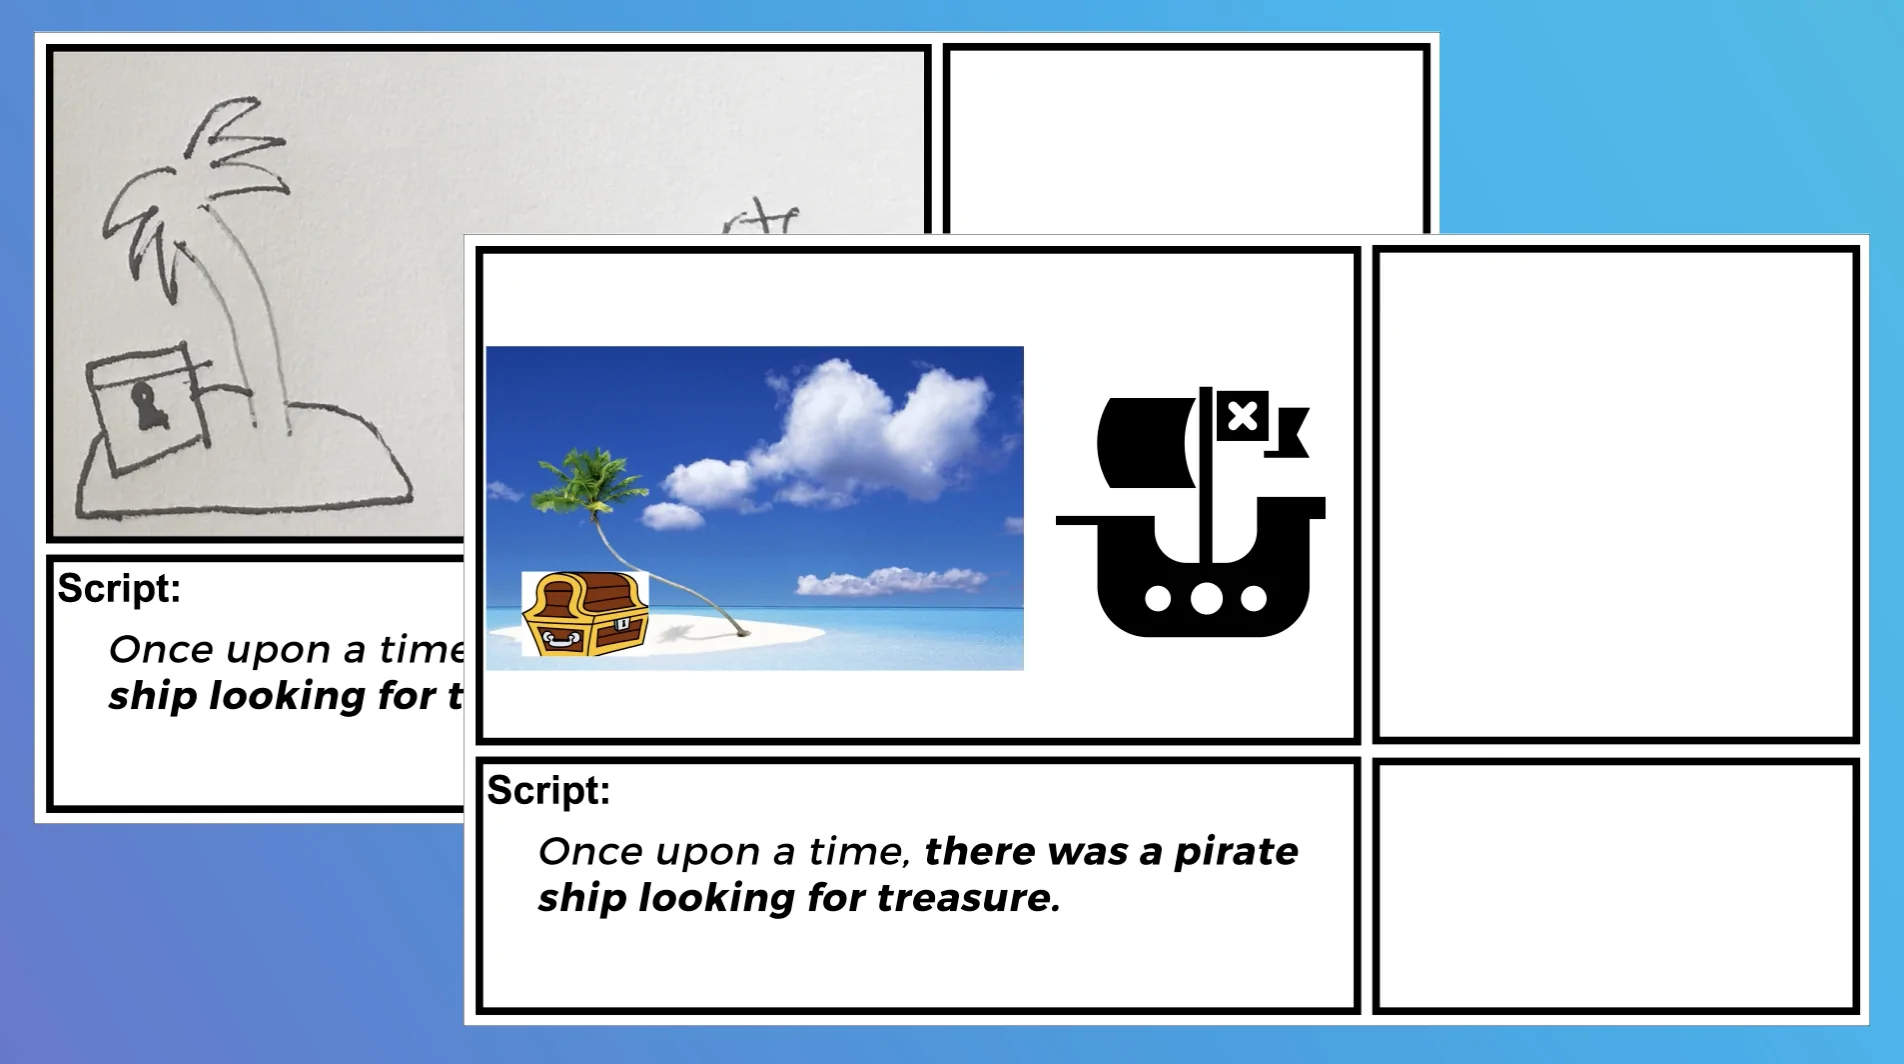
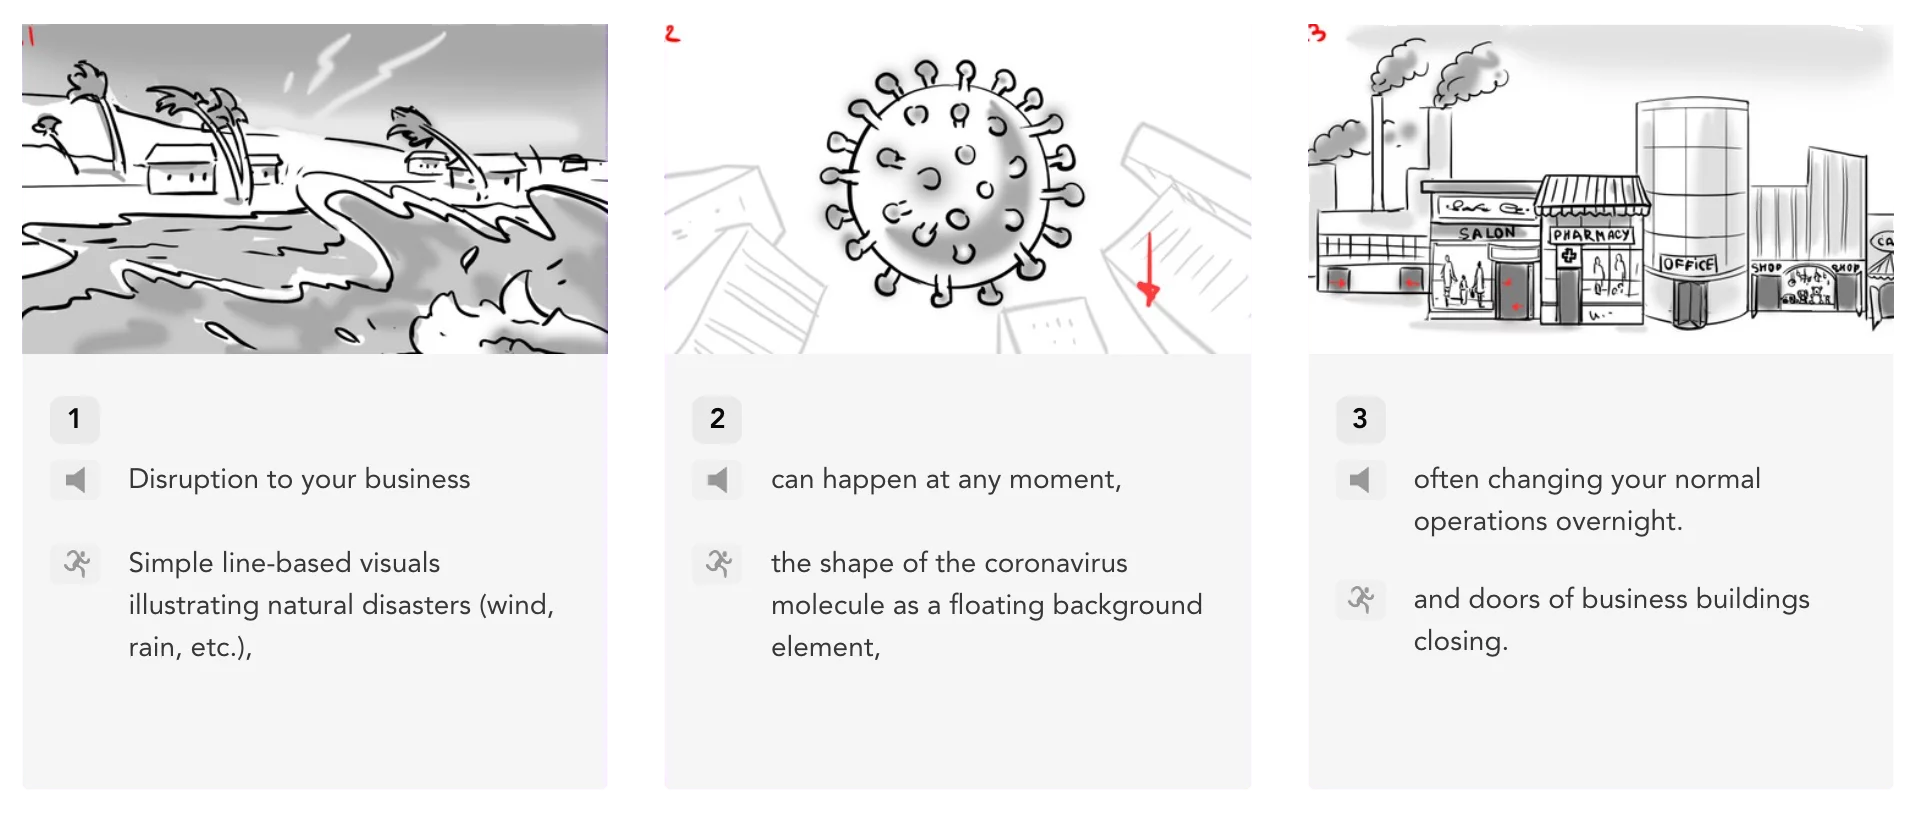
2). Storyboard Creation ($0-$5,000+)
You can also save money by creating the storyboard yourself. Even if you have no artistic ability, you can create a storyboard. Check out our article that teaches you how to create your own storyboard. A freelance animator can help you create your storyboard for a few hundred dollars. A studio is likely going to charge $1,000 or more and they’re going to help you come up with amazing visual ideas to line up with your script. Marketing agencies will probably charge more for this service but they have less experience than the animation studios do.

Free Download: Download our free storyboard creation template.
3). Soundtrack License ($0-$1,000+)
Stock soundtracks are available on a multitude of websites. Some are even available for free if you credit the artist. Licenses to use commercially available soundtracks online and in broadcast media start at just $5 (but are likely over $100). Custom soundtrack production for an animated short starts at around a few hundred dollars but is likely to cost well over $1,000.
Check out this video if you want to learn how to select the perfect soundtrack for your animated video!
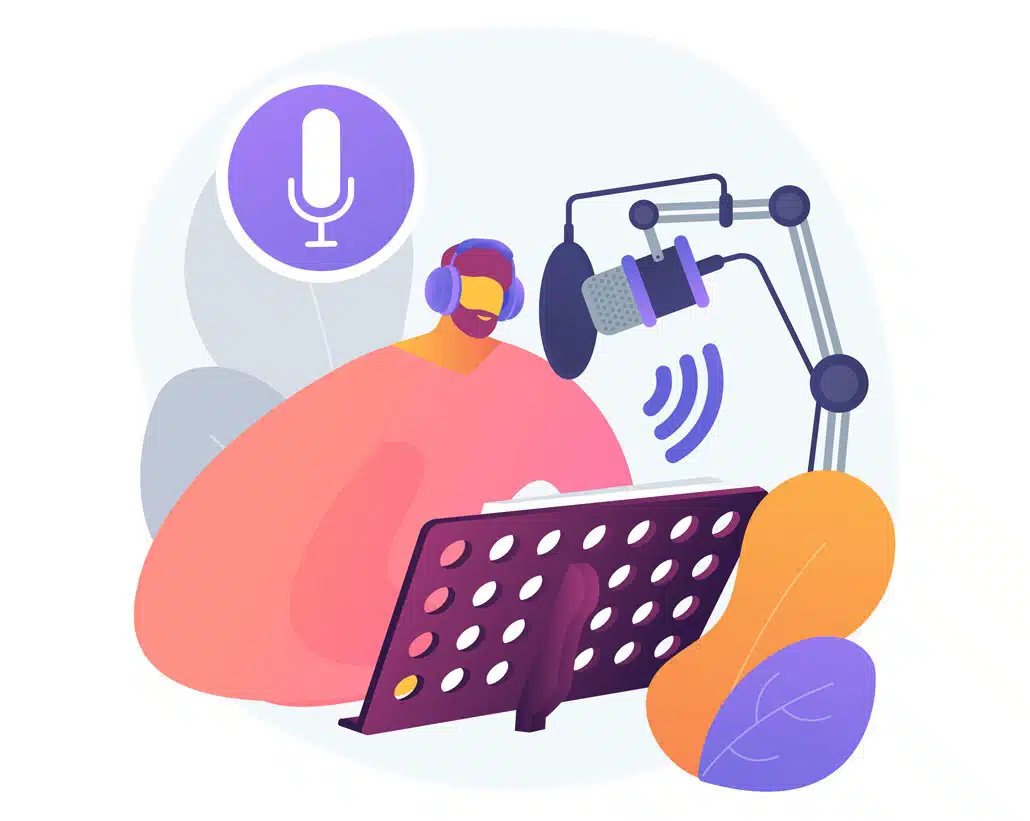
4). VoiceOver ($0-$350)
VoiceOvers are another aspect of production you can save money on by producing it yourself. Check out our video that teaches how you can produce pro quality voiceovers at home, even if you don’t have a studio or professional microphone. Voices.com and VoiceBunny.com are great marketplaces for connecting with any kind of voiceover artist you can imagine. Expect to pay at least $50 for a quality voiceover and potentially more if the voice artist charges extra for the commercial usage of their voiceover.
5). Custom Art ($250-$10,000+)
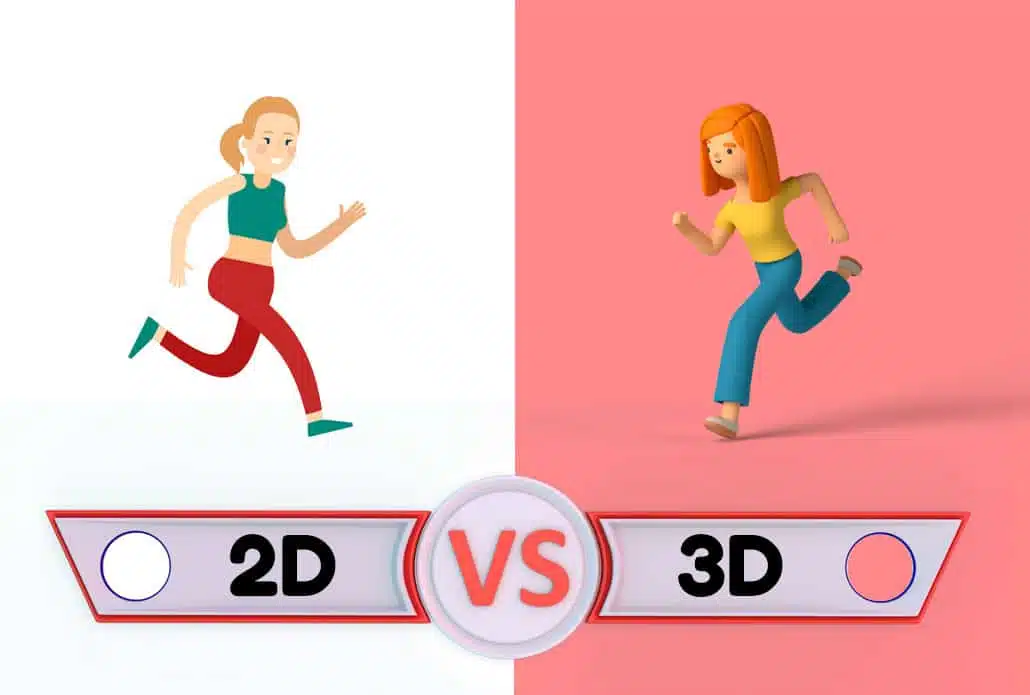
If your animation is simple and you don’t care much about quality, it’s possible for an outsourced designer to scrounge together some stock images and brush them up for a few hundred dollars. The quality of the visuals is going to set the stage for your first impression with viewers so don’t cut corners here. For 2D animation, expect to pay $500-$5,000 for 60 seconds of custom art. If you go through a marketing agency, expect to pay at least double for the same quality. High end 2D animations and 3D animations will cost north of $10,000 per 60 seconds of animation.

Making 3D animations typically requires you get an animatic produced before creating the 3D art. An animatic is halfway between a storyboard and an animation. The sketches are more detailed and synced to a voiceover. Price ranges for an animatic are wide and are sometimes built into the storyboarding cost. In general, expect to pay more for the animatic than you did for the storyboard.
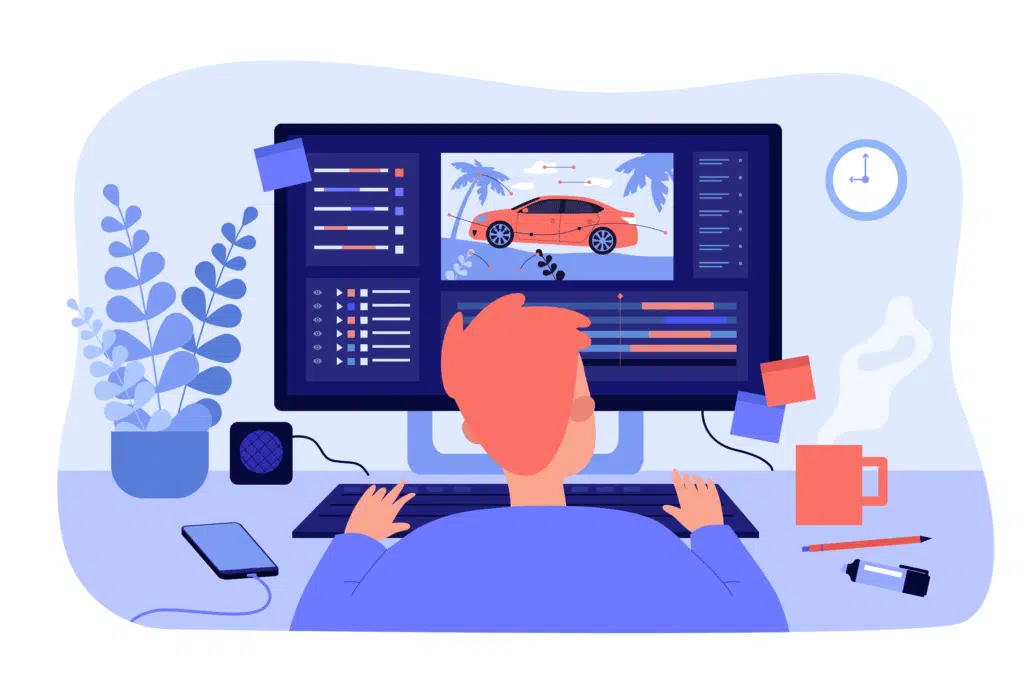
6). Animation ($250-$15,000+)
The animation cost for a video can vary widely and depends on the level of detail happening in the motion design. Simple animations with icons sliding around can be animated for as little as a few hundred dollars. 2D animations with scenes and custom animated characters will cost over $1,000 for a 60 second animation. Fancy 2D animation costs between $5,000-$15,000/min. 3D animation starts around $5,000/ 60 seconds and goes up from there… waaay up!
Deep Dive: How To Make A Video Animation
What do you get when you spent more on your video?
A better storytelling team: people with more experience crafting stories that resonate uniquely with your target audience.
Better visual ideas: not all storyboard artists are the same. Some will read your script and provide simple ideas for visuals. Others will figure out how to string together visual ideas that make your message uniquely memorable, easy to understand, and something your audience will enjoy paying attention to.
Better customer service: with a higher budget, you can afford a more professional team that responds to your requests quickly while creating high quality work as fast as possible.
Better voiceovers: the energy and presentation that a professional voice over artist can bring exceeds the dull mediocre vibe that a $5 voiceover artist will bring. It also means they have a better recording studio setup so their voice will sound clean without distracting background ambient noises.
Music: custom music is great but expensive, especially when there is already a lot of great stock soundtracks you can license for less.
Better art: If you spend $500 on an animated video, only $100-200 goes to the artist. What kind of quality do you expect to get if someone is making 60 seconds worth of art for $100-200? Now imagine if you add a zero behind the equation. Much better art = better perception of your brand.
Animation: Higher budgets means animators can do more detailed motion design. Overall movements will be smoother and more natural looking than cheap animation. Having a higher animation budget also opens the potential for 3D animation.
To learn what kind of animation you can get produced for your budget, whether it’s $1,000 or over $10,000+, schedule a call with our production team.
How Much Does It Cost To Make A Cartoon?
How do these costs compare to what it costs to produce popular 2D animated cartoon shows? Here are some stats to digest:
How much does it cost to produce an animated episode of The Simpsons?
According to several sources (source 1, source 2), episodes of The Simpsons cost at least $5,000,000 per episode. And that was back in 2011. Most of the production budget goes towards paying the world famous voice actors that have been working with the show for over 3 decades.

What does it cost to produce an episode of the cartoon show Family Guy?
Family Guy is rumored to cost $2,000,000 per episode. Family Guy doesn’t use as many famous voice actors as The Simpsons; this could account for the lower production cost.

How much does animation cost for Rick and Morty?
It’s estimated that each episode of Rick and Morty costs between $1.2 and $1.5 million dollars. Rick and Morty does not use famous voice actors so most of their production budget goes into design and animation.

Do you still have questions about how much does animation cost?
If so, use this page to get in touch with our team or click the image below to schedule a call with our production team.
Tips for Reducing Animation Costs

While it’s tempting to cut costs at every opportunity, the quality of your animation shouldn’t suffer. However, there are smart ways to lower costs without compromising the final product. One effective strategy is to use pre-designed templates or animation assets. Many animation studios offer customizable templates that can reduce the design time, especially for simple explainer videos. Reusing animation elements, like backgrounds, character models, or motion sequences, across multiple videos can also lower costs for ongoing projects. Additionally, sticking to simpler animation styles like 2D or motion graphics rather than 3D animation can significantly cut down on production time and expenses.
Deep Dive: For more tips on ways to save money on your production budget, check out this companion article: How To Make Affordable Animation.
Impact of Animation Quality on ROI
Investing in high-quality animation can have a direct impact on your return on investment (ROI). High-quality animation, especially when done with attention to detail and a compelling story, can increase audience engagement and improve conversion rates. For example, a well-crafted explainer video might boost conversions on your website, helping to justify a larger budget. While it’s tempting to choose the most cost-effective option, a premium-quality animation that speaks to your audience’s needs can often pay for itself in terms of higher viewer retention, brand recognition, and customer acquisition. Remember, a quality animation is an asset that can be used repeatedly across marketing channels, creating long-term value.
Animation Styles and Cost Variations

Not all animation styles come with the same price tag. The type of animation you choose can dramatically influence the final cost. For example, 2D animation, often characterized by flat illustrations and simple movements, tends to be more affordable. It’s a popular choice for explainer videos and educational content. 3D animation, however, involves more complex modeling and rendering, which makes it more time-consuming and expensive. Other styles like motion graphics or stop-motion also vary in terms of cost depending on their complexity. It’s essential to understand the nuances of each animation style to determine which one aligns with your budget and project goals. Additionally, specific animation techniques like character animation or cinematic visual effects will raise the price due to the detailed work involved in crafting each movement.
Timeframe for Animation Projects

The timeline of an animation project can significantly affect its cost. Tight deadlines often require studios to allocate more resources, leading to higher prices. For example, a rush job where the animation needs to be delivered in a few weeks may incur an expedited rush delivery animation service fee. On the other hand, longer timelines allow for more flexibility, making the project more cost-effective. For instance, an animation project that takes around 1-2 months will likely cost less than a similar one completed in just a few weeks. It’s important to plan ahead and communicate your preferred delivery schedule with our animation team we can allocate resources accordingly. The more time we have to complete your video, the more cost-efficient it will be.
Animation Software and Tools
Animation software plays an essential role in determining both the quality and cost of your project. Popular tools like Adobe After Effects, Blender, and Toon Boom come with their own learning curves, time requirements, and associated costs. The choice of software can influence how quickly our animators can work and the complexity of the animation itself. For instance, 3D animation created with Blender might take longer and require specialized knowledge, which could increase production time and costs. In contrast, simpler 2D animation made using tools like Adobe Animate or After Effects might be quicker to produce. While premium software may provide more features and flexibility, it often comes with higher licensing fees and longer production timelines.
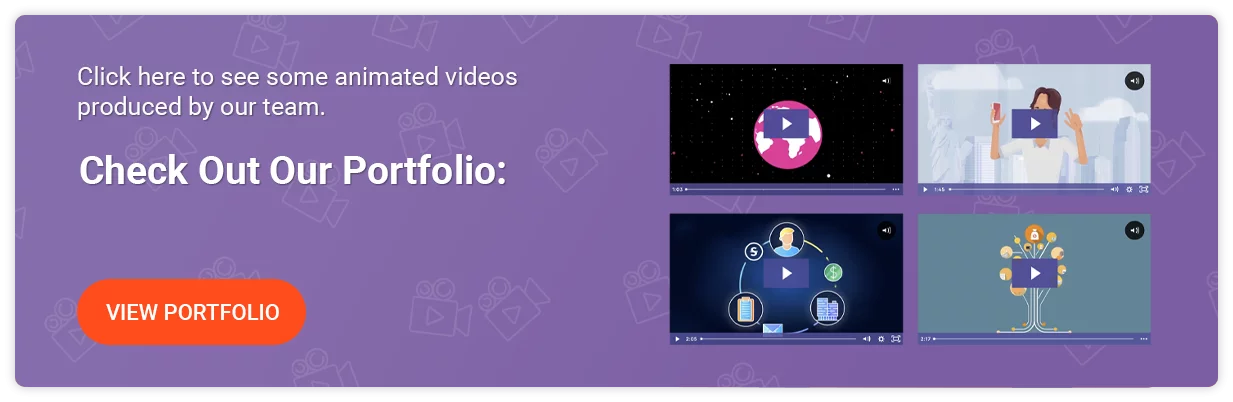
Examples of Videos You Can Create With Video Igniter
Video Igniter can create any kind of 2D or 3D animated video for you.
Check out our animation portfolio and request access to our demo reels and price sheet.
Contact us or schedule a call to start making your video.

Video Production Resources
Now that you know how much it costs to make an animation, you might be looking for some additional resources to help you create your animated video. These popular articles will help you go from idea to custom animated video:
What is the video production process like?
Where can I find a 2D animation artist to create my video?
What explainer video services does Video Igniter offer?
How do I work with an animated explainer video company to create my video?
What is Video Igniter Animation?
We’re an animation studio that you work with online. Our team of professional animators works behind the scenes to turn your idea into the next great animated video, animated ad or explainer video!